Would you like to use Wallpapers.com in English?
Photography Wallpapers
(2300+ Photography Wallpapers)
Get mesmerized by our stunning photography wallpapers collection. From landscapes to cityscapes, our high-quality images add an extra oomph-panache to your mobile or computer screens.
-
![Portrait Photography Pink Sunset Beach Waves Close Up Wallpaper]()
Portrait Photography Pink Sunset Beach Waves Close Up Wallpaper -
![Shackleton Whisky Teal Background Promotional Shot Wallpaper]()
Shackleton Whisky Teal Background Promotional Shot Wallpaper -
![Sakhalin Fox Animal On Snow Wallpaper]()
Sakhalin Fox Animal On Snow Wallpaper -
![Abstract Representation Of Neuroticism Wallpaper]()
Abstract Representation Of Neuroticism Wallpaper -
![Dragonfruit Red Pink Fruit Food Photography Wallpaper]()
Dragonfruit Red Pink Fruit Food Photography Wallpaper -
![Sleek Black GoPro Wallpaper]()
Sleek Black GoPro Wallpaper -
![Tumblr Photography Holding Moon Plane Window Wallpaper]()
Tumblr Photography Holding Moon Plane Window Wallpaper -
![Ballerina Dancer Mid Air Leap Photography Wallpaper]()
Ballerina Dancer Mid Air Leap Photography Wallpaper -
![Suerte Anejo Extra Gold Tequila Wallpaper]()
Suerte Anejo Extra Gold Tequila Wallpaper -
![Sam Rockwell Best Supporting Actor Oscars 2018 Wallpaper]()
Sam Rockwell Best Supporting Actor Oscars 2018 Wallpaper -
![Sarah Michelle Gellar Bed Of Flowers Wallpaper]()
Sarah Michelle Gellar Bed Of Flowers Wallpaper -
![Bobby Charlton 1968 Football Photography Wallpaper]()
Bobby Charlton 1968 Football Photography Wallpaper -
![Larry Page Google Forum Photography 2012 Wallpaper]()
Larry Page Google Forum Photography 2012 Wallpaper -
![Wet Basalt Rocks Of Northern Ireland Wallpaper]()
Wet Basalt Rocks Of Northern Ireland Wallpaper -
![John Sculley In A TV Show Guesting Wallpaper]()
John Sculley In A TV Show Guesting Wallpaper -
![Los Sundays Tequila - Experience Luxurious Indulgence Wallpaper]()
Los Sundays Tequila - Experience Luxurious Indulgence Wallpaper -
![Suerte Mini Blanco Bottle Wallpaper]()
Suerte Mini Blanco Bottle Wallpaper -
![Bobby Charlton Bobby Moore Handshake Photography Wallpaper]()
Bobby Charlton Bobby Moore Handshake Photography Wallpaper -
![Sam Rockwell Office Themed Photoshoot Wallpaper]()
Sam Rockwell Office Themed Photoshoot Wallpaper -
![Led Zeppelin Album Cover Wallpaper]()
Led Zeppelin Album Cover Wallpaper -
![Grand Mayan Tequila Raiders Bottle Photography Wallpaper]()
Grand Mayan Tequila Raiders Bottle Photography Wallpaper -
![Twig With Sharp Thorns Wallpaper]()
Twig With Sharp Thorns Wallpaper -
![Baby Red Fox Animal Walking Through Railway Wallpaper]()
Baby Red Fox Animal Walking Through Railway Wallpaper -
![Ken Patera Autographed Vintage Photograph Wallpaper]()
Ken Patera Autographed Vintage Photograph Wallpaper -
![Warren Buffett American Philanthropist Photography Wallpaper]()
Warren Buffett American Philanthropist Photography Wallpaper -
![Professional Photography Essentials Wallpaper]()
Professional Photography Essentials Wallpaper -
![Maurice Smith Creative Photo Shoot Wallpaper]()
Maurice Smith Creative Photo Shoot Wallpaper -
![Ian Rush Kenny Dalglish FA Cup 1986 Wallpaper]()
Ian Rush Kenny Dalglish FA Cup 1986 Wallpaper -
![Breathtaking Floral Jewelry with Tiny Gemstones Wallpaper]()
Breathtaking Floral Jewelry with Tiny Gemstones Wallpaper -
![Street Photography Of Model With Beautiful Legs Wallpaper]()
Street Photography Of Model With Beautiful Legs Wallpaper -
![The Moon Phase Iphone Wallpaper]()
The Moon Phase Iphone Wallpaper -
![Cinnamon Rolls With Raisins Topping Wallpaper]()
Cinnamon Rolls With Raisins Topping Wallpaper -
![Ferrari 330 In A Shaded Road Wallpaper]()
Ferrari 330 In A Shaded Road Wallpaper -
![Mesmerizing High Definition Photography of a Black Fence Wallpaper]()
Mesmerizing High Definition Photography of a Black Fence Wallpaper -
![Ballerina Black And White Dress Photography Wallpaper]()
Ballerina Black And White Dress Photography Wallpaper -
![Ken Rosewall Statue Photography Wallpaper]()
Ken Rosewall Statue Photography Wallpaper -
![Odeya Rush Wearing A Fur Coat Wallpaper]()
Odeya Rush Wearing A Fur Coat Wallpaper -
![Warren Buffett Smiling Candid Photography Wallpaper]()
Warren Buffett Smiling Candid Photography Wallpaper -
![Sam Worthington Smile Paparazzi Photography Wallpaper]()
Sam Worthington Smile Paparazzi Photography Wallpaper -
![Sam Rockwell Single Shot Interview Wallpaper]()
Sam Rockwell Single Shot Interview Wallpaper - Next page


-
![Art Wallpaper]()
Art Wallpapers
-
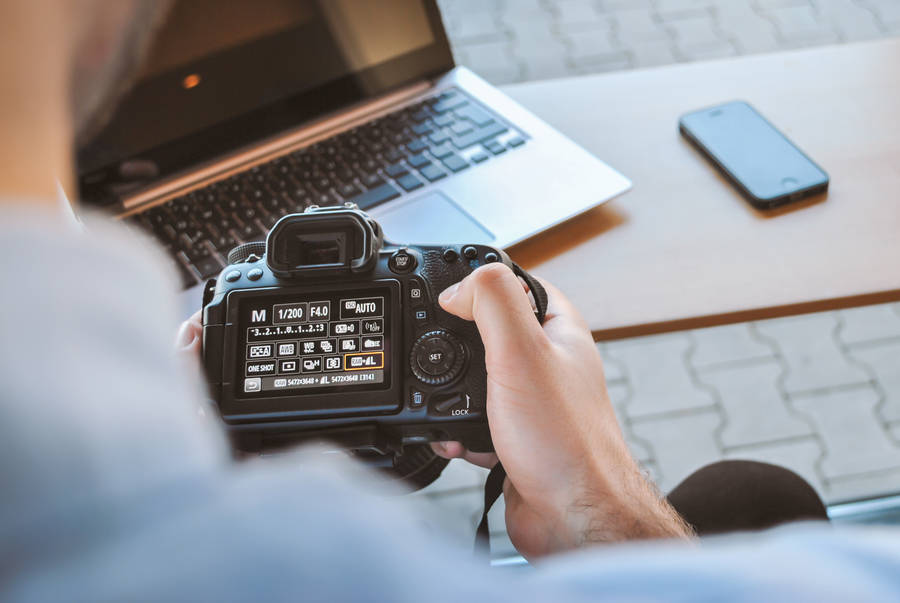
![Camera Wallpaper]()
Camera Wallpapers
-
![Deviantart Wallpaper]()
Deviantart Wallpapers
-
![Image Wallpaper]()
Image Wallpapers
-
![Macro Flower Wallpaper]()
Macro Flower Wallpapers
-
![Others Wallpaper]()
Others Wallpapers
-
![Photo Wallpaper]()
Photo Wallpapers
-
![Photo Background Wallpaper]()
Photo Background Wallpapers
-
![Photographer Wallpaper]()
Photographer Wallpapers
-
![Picture Wallpaper]()
Picture Wallpapers


