Would you like to use Wallpapers.com in English?
Photography Wallpapers
(2300+ Photography Wallpapers)
Get mesmerized by our stunning photography wallpapers collection. From landscapes to cityscapes, our high-quality images add an extra oomph-panache to your mobile or computer screens.
-
![Vintage Pastel Aesthetic Pastel Green Alarm Clock Wallpaper]()
Vintage Pastel Aesthetic Pastel Green Alarm Clock Wallpaper -
![Monte Alban Mezcal Tequila 375ML Bottle Wallpaper]()
Monte Alban Mezcal Tequila 375ML Bottle Wallpaper -
![Elevate Dance Ballet Dancer Street Wallpaper]()
Elevate Dance Ballet Dancer Street Wallpaper -
![Shirley Fry Irvin's Signed Vintage Photograph Wallpaper]()
Shirley Fry Irvin's Signed Vintage Photograph Wallpaper -
![Billie Eilish Purple Blonde Hair Wallpaper]()
Billie Eilish Purple Blonde Hair Wallpaper -
![Two Tiger Animals On Damp Rock Wallpaper]()
Two Tiger Animals On Damp Rock Wallpaper -
![Bald Man Wearing Eyeglasses Wallpaper]()
Bald Man Wearing Eyeglasses Wallpaper -
![Outkast André 3000 Big Boi American Flag Wallpaper]()
Outkast André 3000 Big Boi American Flag Wallpaper -
![Stony River Nature Photography Wallpaper]()
Stony River Nature Photography Wallpaper -
![Sam Rockwell Cute Cat Photoshoot Wallpaper]()
Sam Rockwell Cute Cat Photoshoot Wallpaper -
!["Debbie Harry, the Iconic Lead Vocalist of Blondie" Wallpaper]()
"Debbie Harry, the Iconic Lead Vocalist of Blondie" Wallpaper -
![Tumblr Photography Holding Moon Plane Window Wallpaper]()
Tumblr Photography Holding Moon Plane Window Wallpaper -
![Michel Platini Sepp Blatter Athletes Photography Wallpaper]()
Michel Platini Sepp Blatter Athletes Photography Wallpaper -
![David Ginola Football Side Profile Photography Wallpaper]()
David Ginola Football Side Profile Photography Wallpaper -
![Professional Desert Photo Wallpaper]()
Professional Desert Photo Wallpaper -
![Bobby Charlton United Trinity Statue Photography Wallpaper]()
Bobby Charlton United Trinity Statue Photography Wallpaper -
![Gracious Flower Wallpaper]()
Gracious Flower Wallpaper -
![Mesmerizing Night Cityscape Photography Wallpaper]()
Mesmerizing Night Cityscape Photography Wallpaper -
![Baby Blue Light Blue Aesthetic Baby Breath Flowers Wallpaper]()
Baby Blue Light Blue Aesthetic Baby Breath Flowers Wallpaper -
![Suzanne Lenglen in Stylish Vintage Tennis Attire Wallpaper]()
Suzanne Lenglen in Stylish Vintage Tennis Attire Wallpaper -
![Teen Girl Latina Model Flower Photography Wallpaper]()
Teen Girl Latina Model Flower Photography Wallpaper -
![Cheetah Animal On Rock Mountain Wallpaper]()
Cheetah Animal On Rock Mountain Wallpaper -
![Grand Mayan Tequila Raiders Bottle Photography Wallpaper]()
Grand Mayan Tequila Raiders Bottle Photography Wallpaper -
![Damson Plums On Pruned Tree Wallpaper]()
Damson Plums On Pruned Tree Wallpaper -
![Dark Purple And Wine Red Java Plums Wallpaper]()
Dark Purple And Wine Red Java Plums Wallpaper -
![Wendell Pierce Michael Chiklis Wallpaper]()
Wendell Pierce Michael Chiklis Wallpaper -
![Minneapolis Sunset Photography Wallpaper]()
Minneapolis Sunset Photography Wallpaper -
![River Cascade Stream Pink Flowers Photography Wallpaper]()
River Cascade Stream Pink Flowers Photography Wallpaper -
![Patrik Laine NHL Ice Hockey Athlete Wallpaper]()
Patrik Laine NHL Ice Hockey Athlete Wallpaper -
![Zinedine Zidane Black And White Photography Wallpaper]()
Zinedine Zidane Black And White Photography Wallpaper -
![Sienna Miller Pink Polo Shirt Model Photography Pictures Wallpaper]()
Sienna Miller Pink Polo Shirt Model Photography Pictures Wallpaper -
![Valentino Rossi Triumphs at the 2015 Qatar Grand Prix Wallpaper]()
Valentino Rossi Triumphs at the 2015 Qatar Grand Prix Wallpaper -
![Wet Light Bulbs Photography Wallpaper]()
Wet Light Bulbs Photography Wallpaper -
![Ronald Colman Photograph Wooden Background Wallpaper]()
Ronald Colman Photograph Wooden Background Wallpaper -
![Monte Alban Silver Tequila Macro Shot Wallpaper]()
Monte Alban Silver Tequila Macro Shot Wallpaper -
![Orangutan in its Natural Habitat Wallpaper]()
Orangutan in its Natural Habitat Wallpaper -
![Ian Rush Football Run Liverpool FC Photo Wallpaper]()
Ian Rush Football Run Liverpool FC Photo Wallpaper -
![Green Thuja Plicata Hedge Shrubs Wallpaper]()
Green Thuja Plicata Hedge Shrubs Wallpaper -
![A Handful Of Credit Cards Wallpaper]()
A Handful Of Credit Cards Wallpaper -
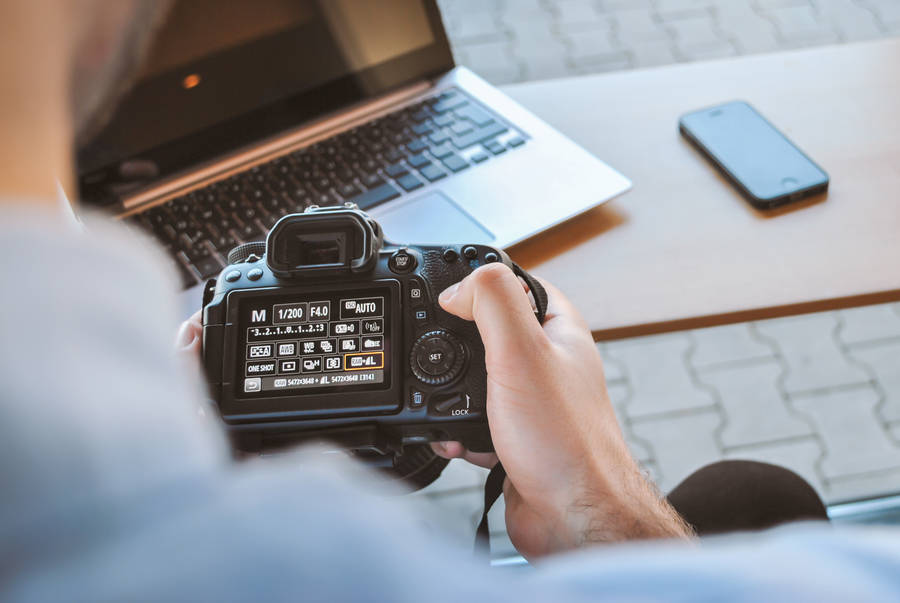
![Canon Black DSLR Camera in High Definition Wallpaper]()
Canon Black DSLR Camera in High Definition Wallpaper - Next page


-
![Art Wallpaper]()
Art Wallpapers
-
![Camera Wallpaper]()
Camera Wallpapers
-
![Deviantart Wallpaper]()
Deviantart Wallpapers
-
![Image Wallpaper]()
Image Wallpapers
-
![Macro Flower Wallpaper]()
Macro Flower Wallpapers
-
![Others Wallpaper]()
Others Wallpapers
-
![Photo Wallpaper]()
Photo Wallpapers
-
![Photo Background Wallpaper]()
Photo Background Wallpapers
-
![Photographer Wallpaper]()
Photographer Wallpapers
-
![Picture Wallpaper]()
Picture Wallpapers


